
|
|
|||||||||
|
|
|||||||||
|
|
|||||||||
|
|
|||||||||
|
|
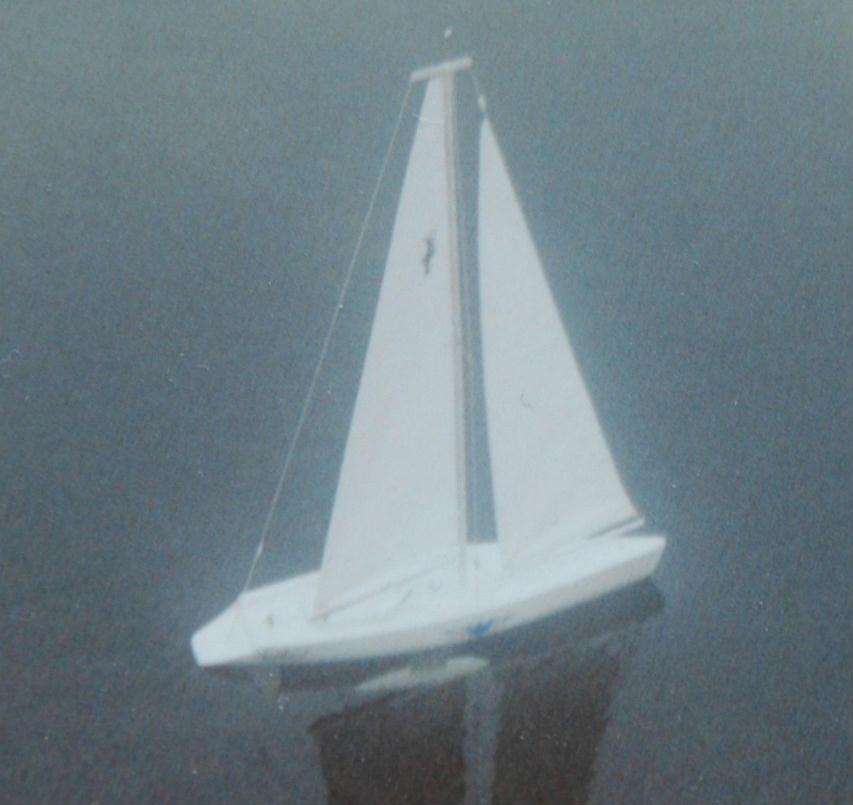
One thing that I liked the most about it was that it was essentially bullet-proof, especially compared to a model plane. As long as the body of water was confined and relatively small, I had no problems with handing the transmitter to kids standing by... this isn't such a good idea with planes. Since the boat was self-righting, the only bad things you could do to it would be to sail it out of radio range or to sail it with dead batteries. In either case, it would eventually drift ashore, and a walk around the pond would solve the problem. There was the problem of diminishing wind, but in a few years that only caught up with me one time. I passed that boat along to someone else a long time ago, and ever since, I've wanted to build another larger boat.
I had essentially tabled the idea until I came across the US1M Construction Guide published by the American Model Yachting Association. This book gave me the impression that I could actually build a 1 meter long boat from scratch, which sounded like fun. I've built several model airplanes from scratch, including a giant DC-3 and others. When I first started reading up on the process of building model boats, I had to try and decide which racing class to go with. Everyone on the internet says to build the class that is raced or sailed in your local area, which is great advice to someone with a local area that has sailing... but it is just frustrating to someone who doesn't. I pretty much had the choices narrowed down to the US 1 Meter class and the International One Meter class. I decided to go with the US1M because the guidebook was centered around it, and I can always build an IOM one day too if necessary.
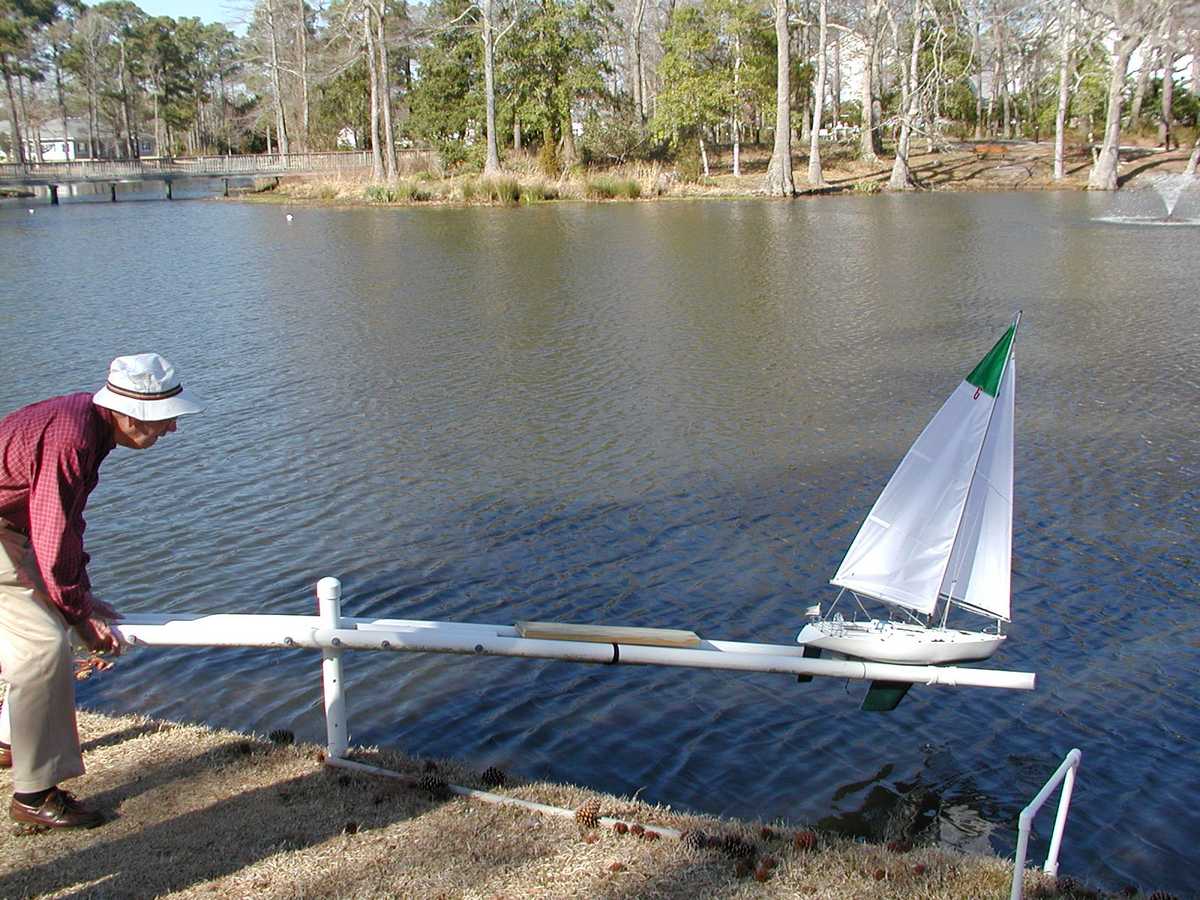
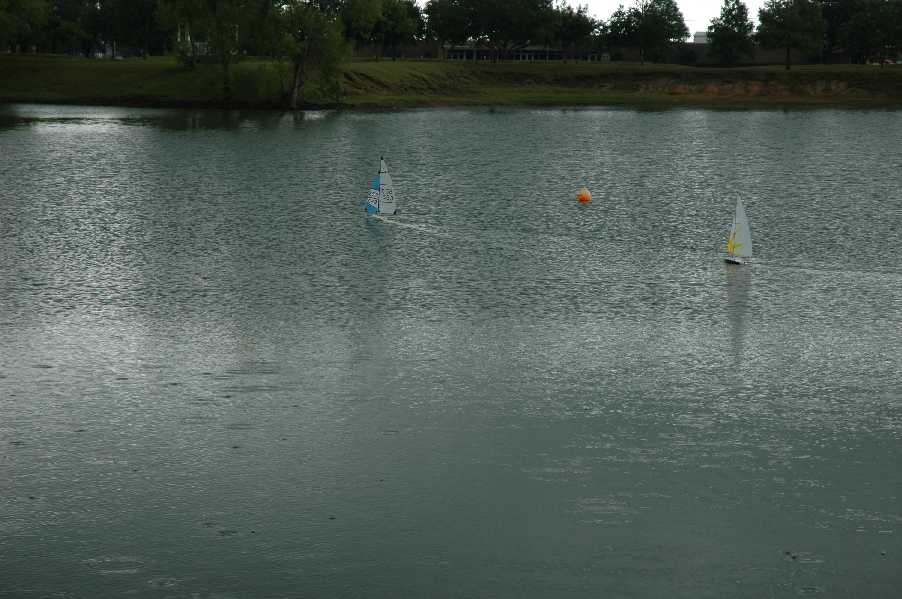
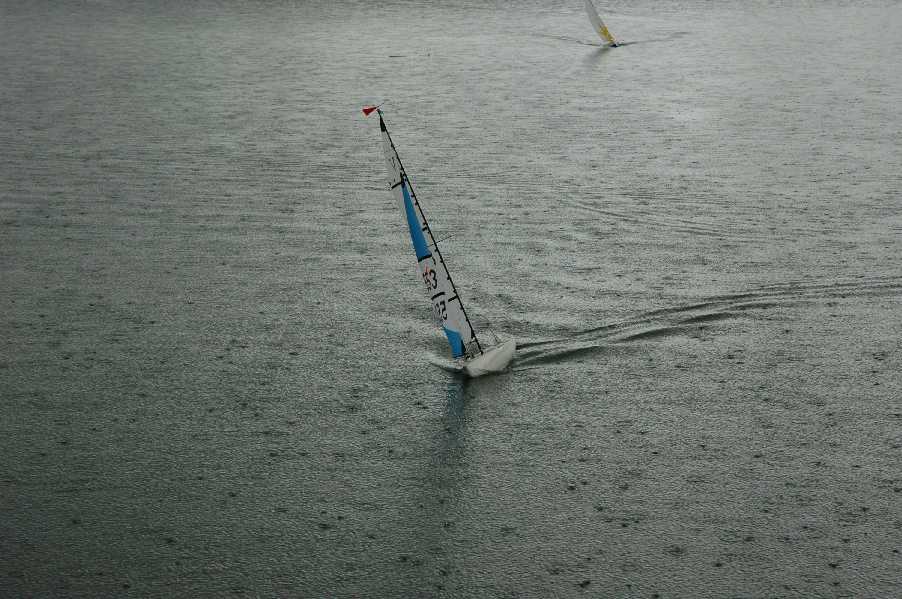
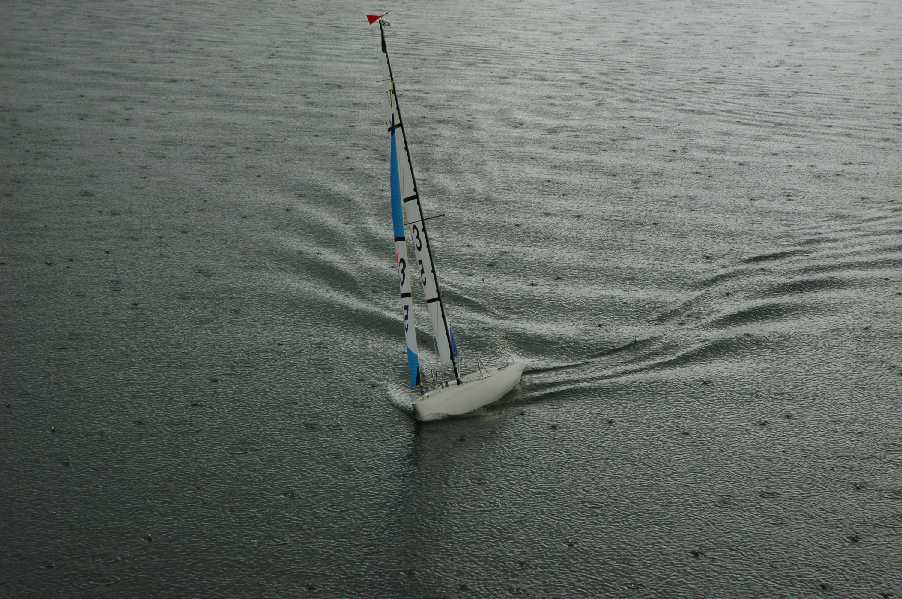
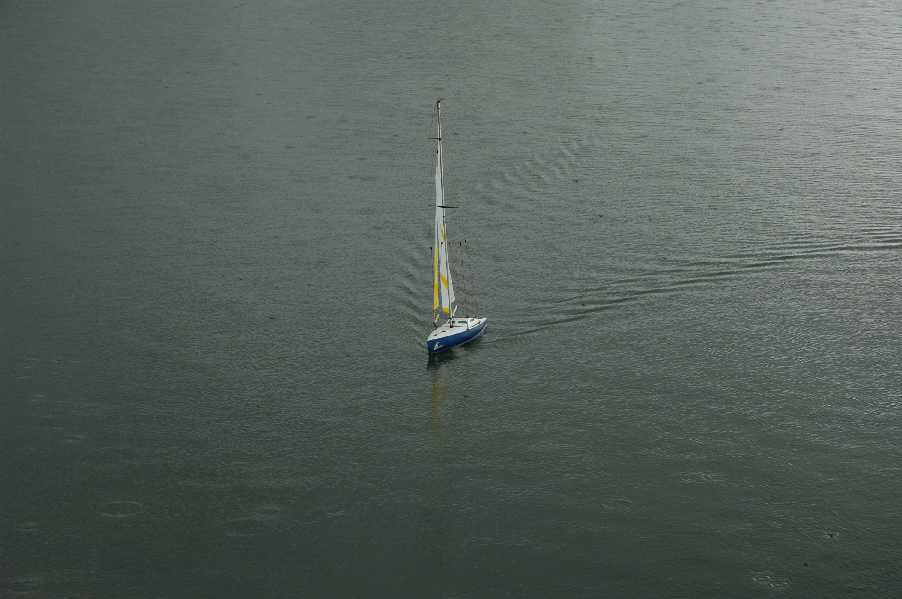
In the early days of my research, I was living in a place with no local model boats at all, but later I moved to the Wilmington NC area. There is a group there that is sanctioned through the AMYA that sails the Kyosho Fairwind. This is an almost one-meter boat with a plastic hull and lots of scale-looking details. This group sails in a lake at an apartment property for older people. It isn't really a nursing home, since everyone who lives there is independent, but they do have some services and benefits that make life more fun for seniors. My grandparents live in a similar place, so it seemed familiar. Here are some pictures of their sailing on a Sunday afternoon. There were a total of five boats on this day, and there are three others who couldn't make it.


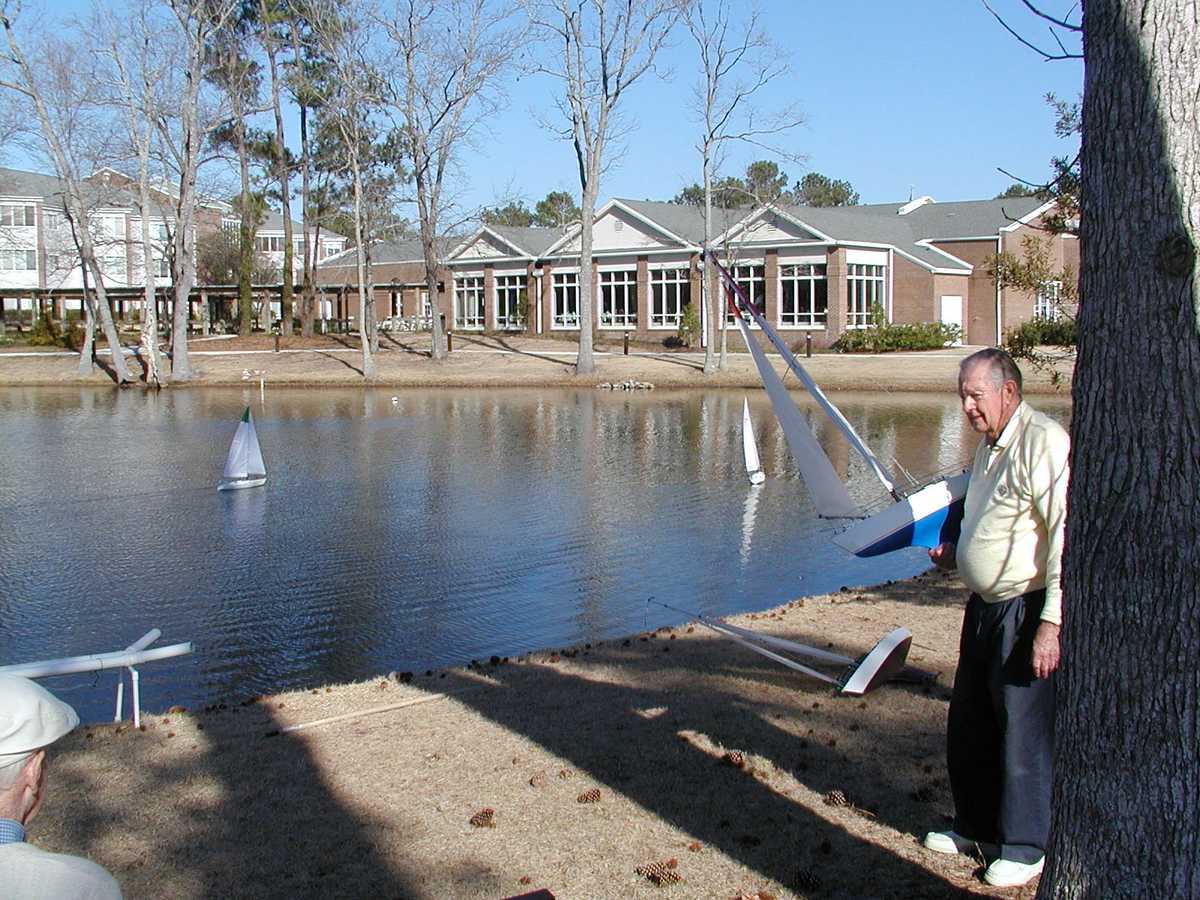


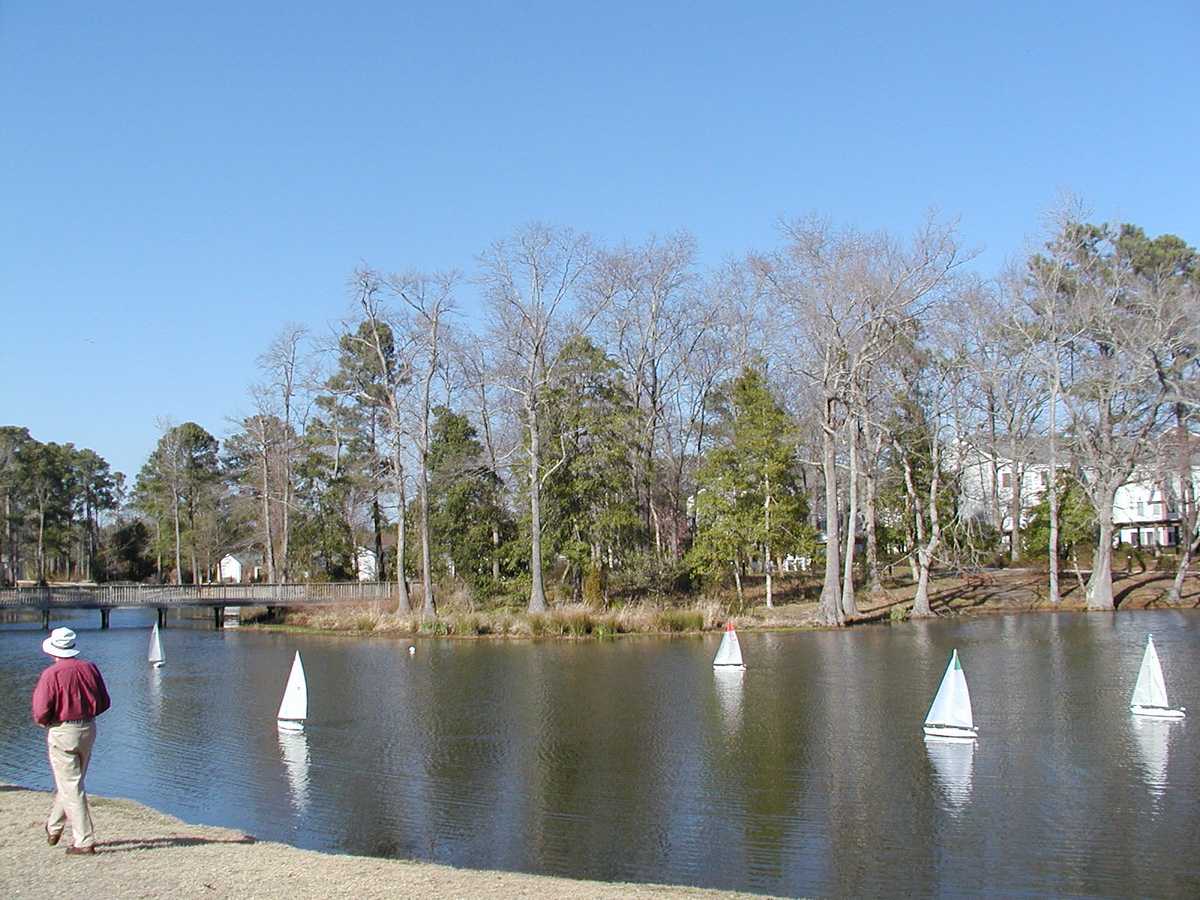


Those pictures were from March 13, 2005. It was almost 2 months later before I had finally moved to Wilmington and gotten settled enough to start construction on my boat. I was tempted to try and save for a boat like theirs, but since it had a plastic hull, it kind of defeated the purpose of building one out of wood. Furthermore, the Fairwind is a fairly pricy kit, and it focusses more on scale details than performance. The site that they use to sail is a long drive from home, and while the other sailers were very nice to spend the afternoon with, I figured that the location of that site combined with the shortcomings of the boat would keep the existing group from superceding my preference to build a wooden boat.
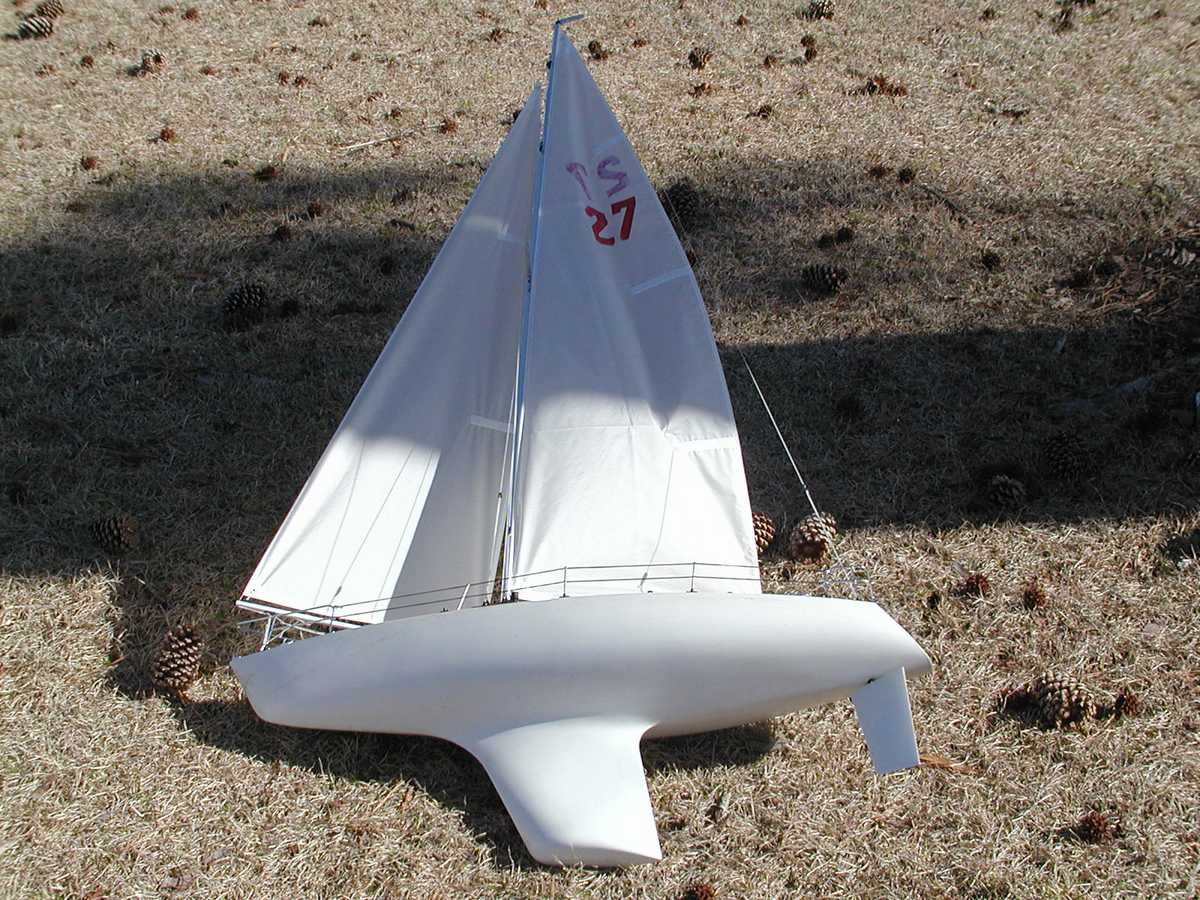
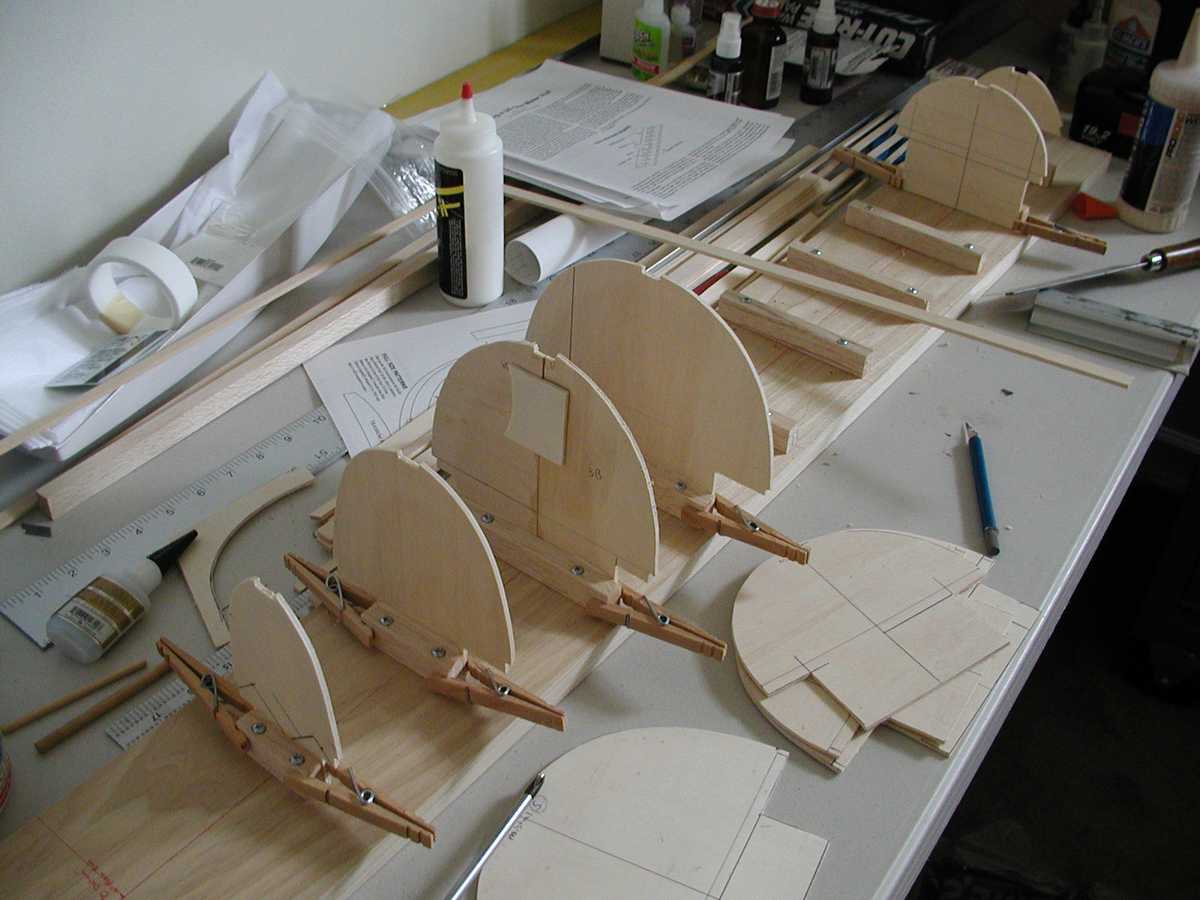
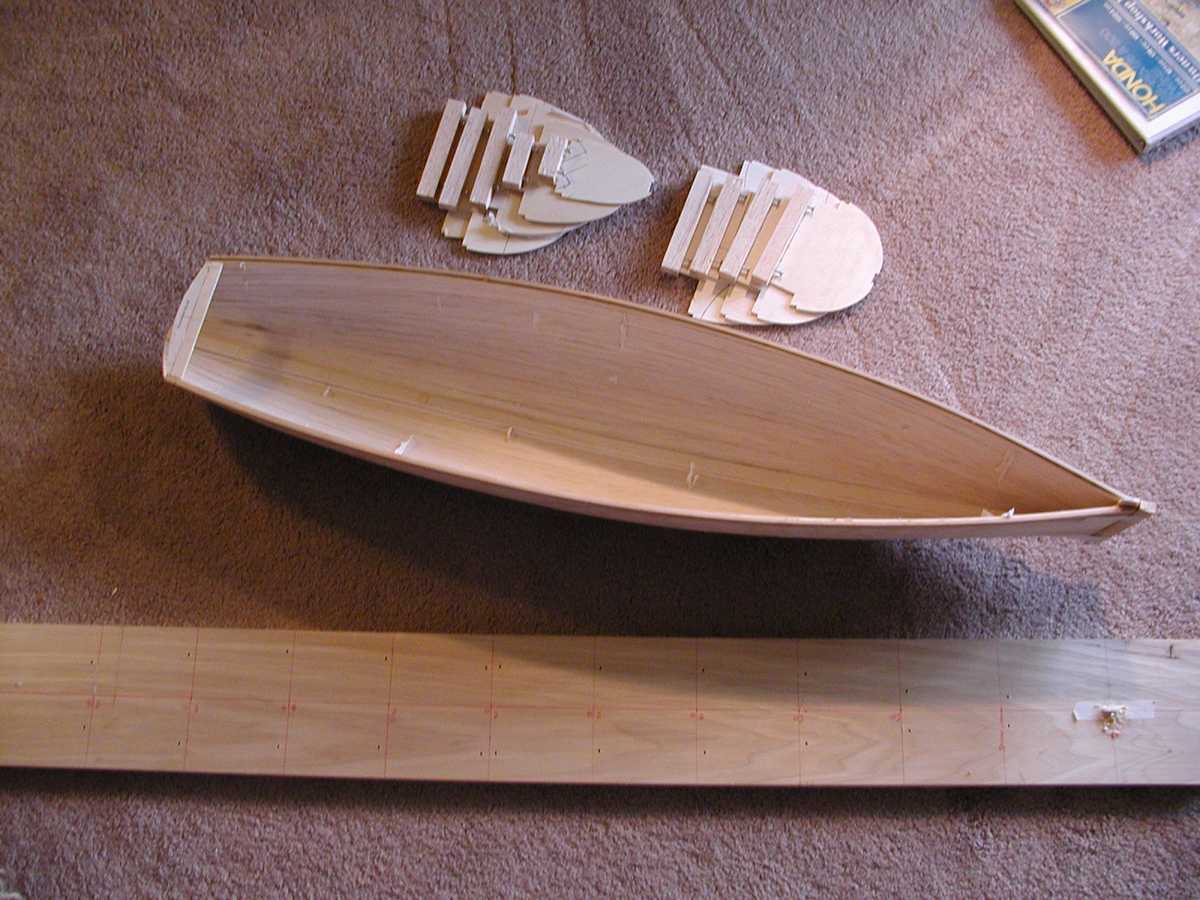
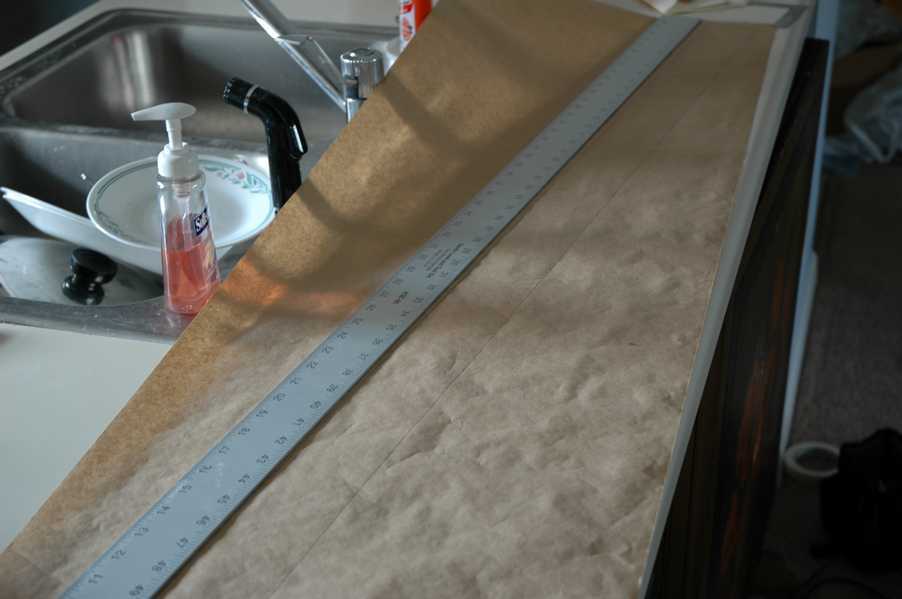
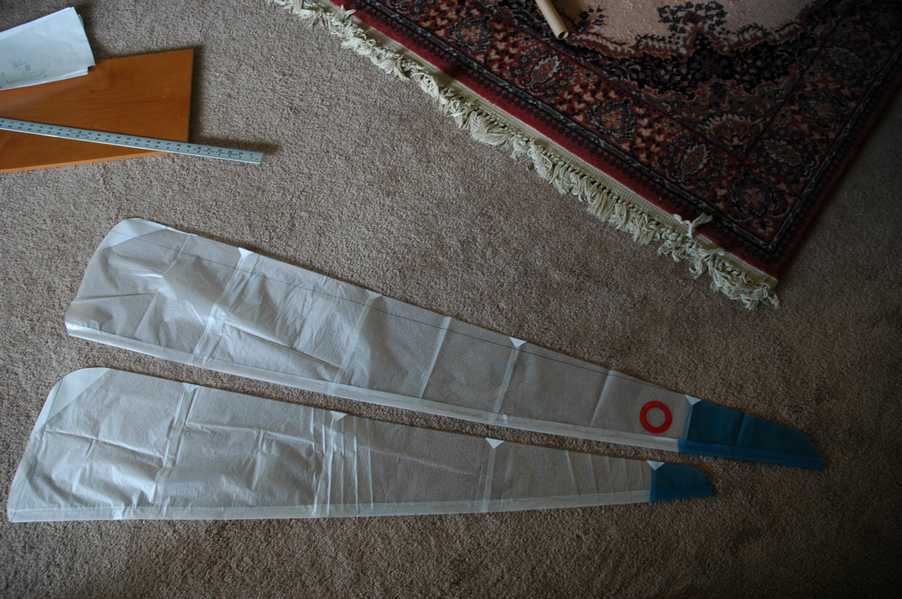
Since there are so many free plans available for US1M boats, I figured I would end up having to pick one on some arbitrary point, like the shape, name, or marketing of the design. I decided to go with the Mistral, because it seemed like one that was well supported by the beginner community. I downloaded and printed the plans, and ordered some 1/8" x 48" x 4" balsa sheets. I decided to make the shadows out of 1/8" lite ply, because it is more readilly available to me than anything else. At first, I figured I wouldn't need that much... after all, the plans show all of the shadows on one page. This is especially easy to misunderstand, since it ended up taking the equivalent of 12" x 36" of plywood. If I were ordering supplies to build another, I would count on one 12x48 sheet per boat. I drew out the layout on the plywood sheet and each piece out using a small dremel scroll saw. For a building board, I used a straight piece of poplar that measures 3/4" x 6" x 48". I used screws to attach the blocks that the shadows are glued to, which worked well enough. I had a genius idea after I'd already started planking... why not screw up from the bottom to secure these blocks, so that I could remove the screws and thus remove the hull and shadows when finished? After planking, the screws that I used were tricky to get out since they were inside of the completed hull.


I also didn't order any basswood, because I figured I would find what I needed in the scrap box or in a local store. This was another miscalculation, since the only size of basswood that I could find locally was 2" x 1/8" x 24". Luckilly this was easy to cut into 1/4" and 1/2" strips. I had to splice these strips together, and I used a scarf joint as shown in the pictures. These strips made for the keel and inner clamps as required by the plans. Since each was doubled, I glued them with an outdoor wood glue. There were a total of 5 1/4" strips, and 1 1/2" strips.


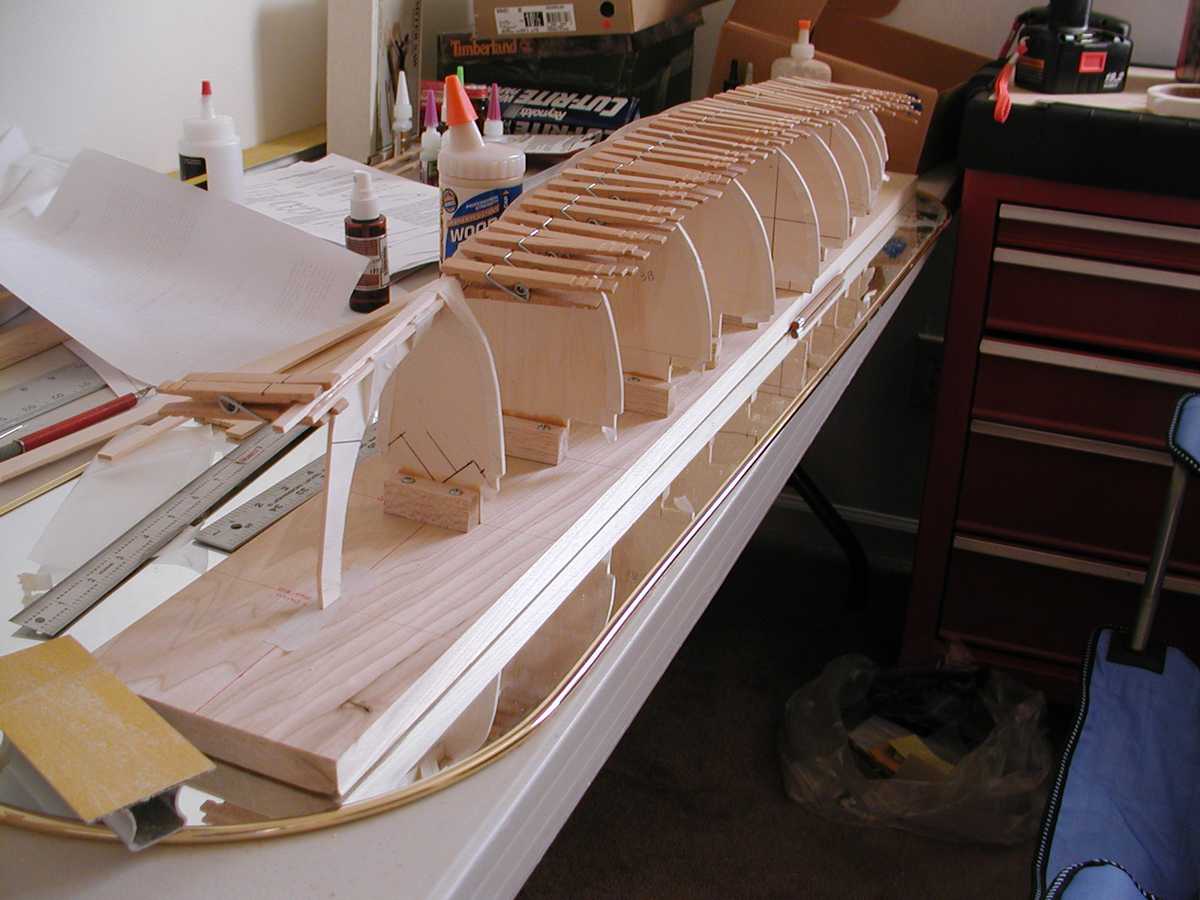
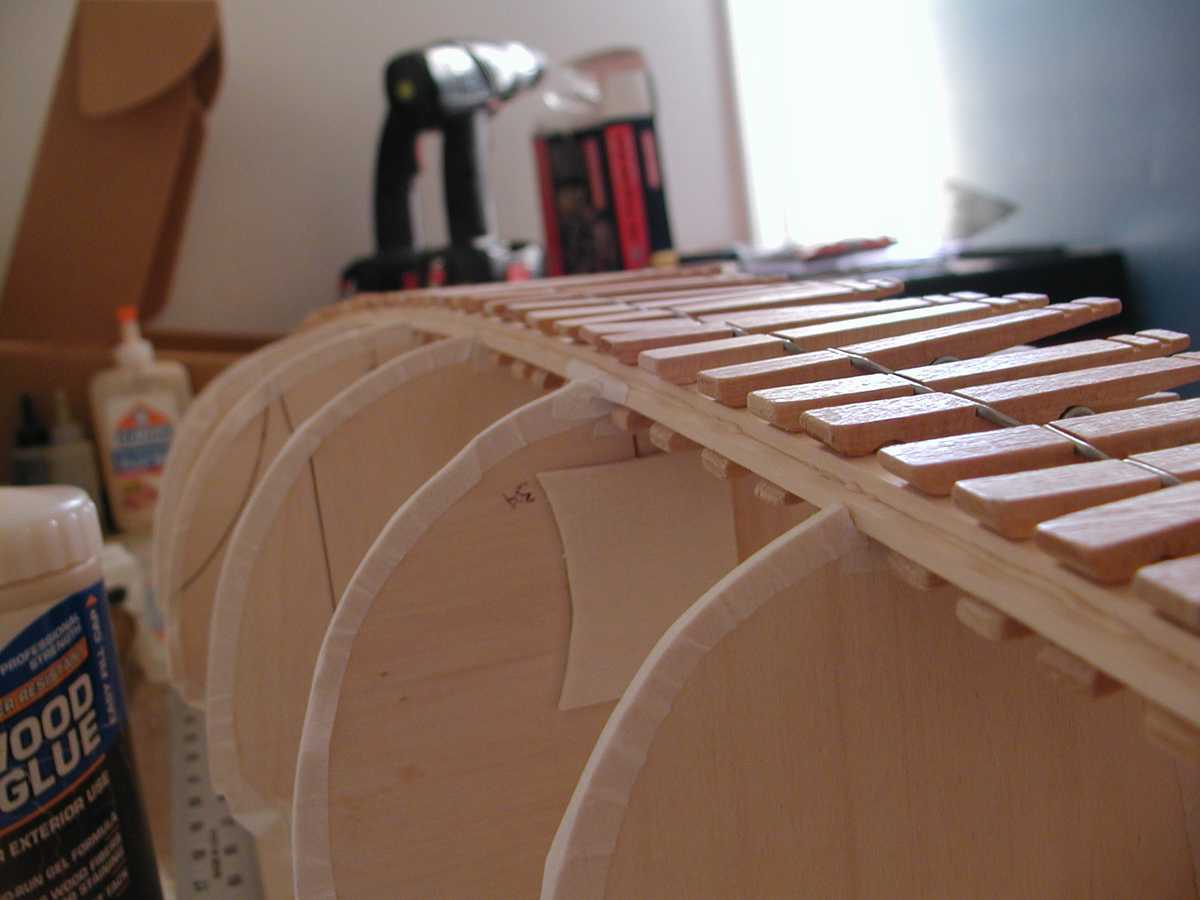


With those basswood strips in place, it was time to start planking. I used the Master Airscrew stripper, and it worked great. I also used it on the basswood, though it required a few passes and with increasingly deep blade settings, while it could cut the balsa in one pass.


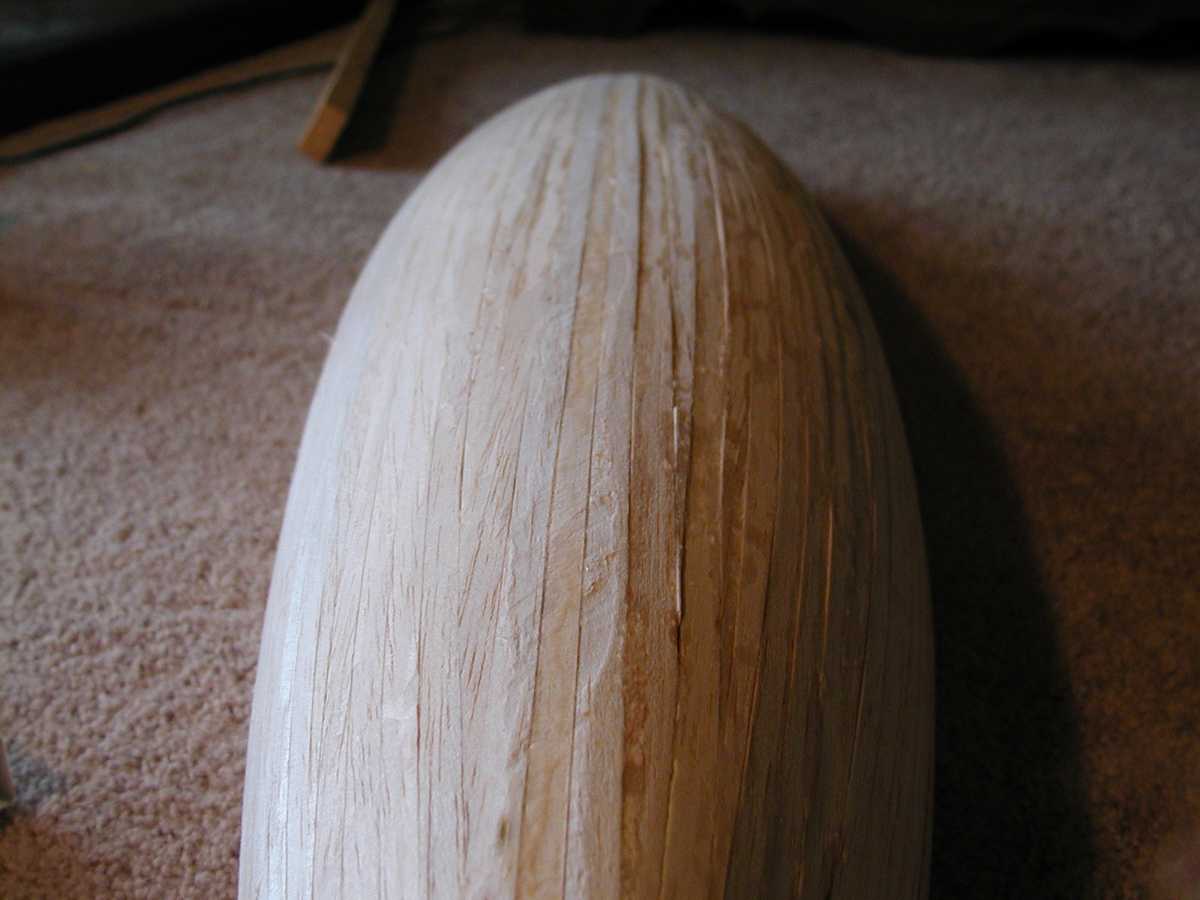
I used a razor saw to trim the front planks even with the plywood stem piece, and then glued on a strip of spruce on the bow for a nose bumper. It was handy, but I'm sure any other hardish wood would also work fine. I used a plywood transom beam like the in the plans, but I had to make it a little bit longer. If I would have used the original size, it would have aligned itself with the gunwale strips much too far aft. I added about 1/4" to each end to make for a more forward location. I trimmed and sanded the planks, and added plywood for the transom. I didn't have 1/16" ply, so I laminated two pieces of 1/64" ply. I think it would be better to plan on buying a 12 x 48 sheet of 1/16" ply as well, since I guess I'll need it for the deck soon.


Getting the hull off of the shadows was a little bit tricky. As I mentioned before, screws from the bottom would have made a lot more sense, but since I didn't think of that, I was stuck with using a very small screwdriver to remove the aft 7. Shadows 1 through 3 were not acessable even to the small screwdriver, so for those I just slid the entire hull forward and off, with better results than I would have expected.
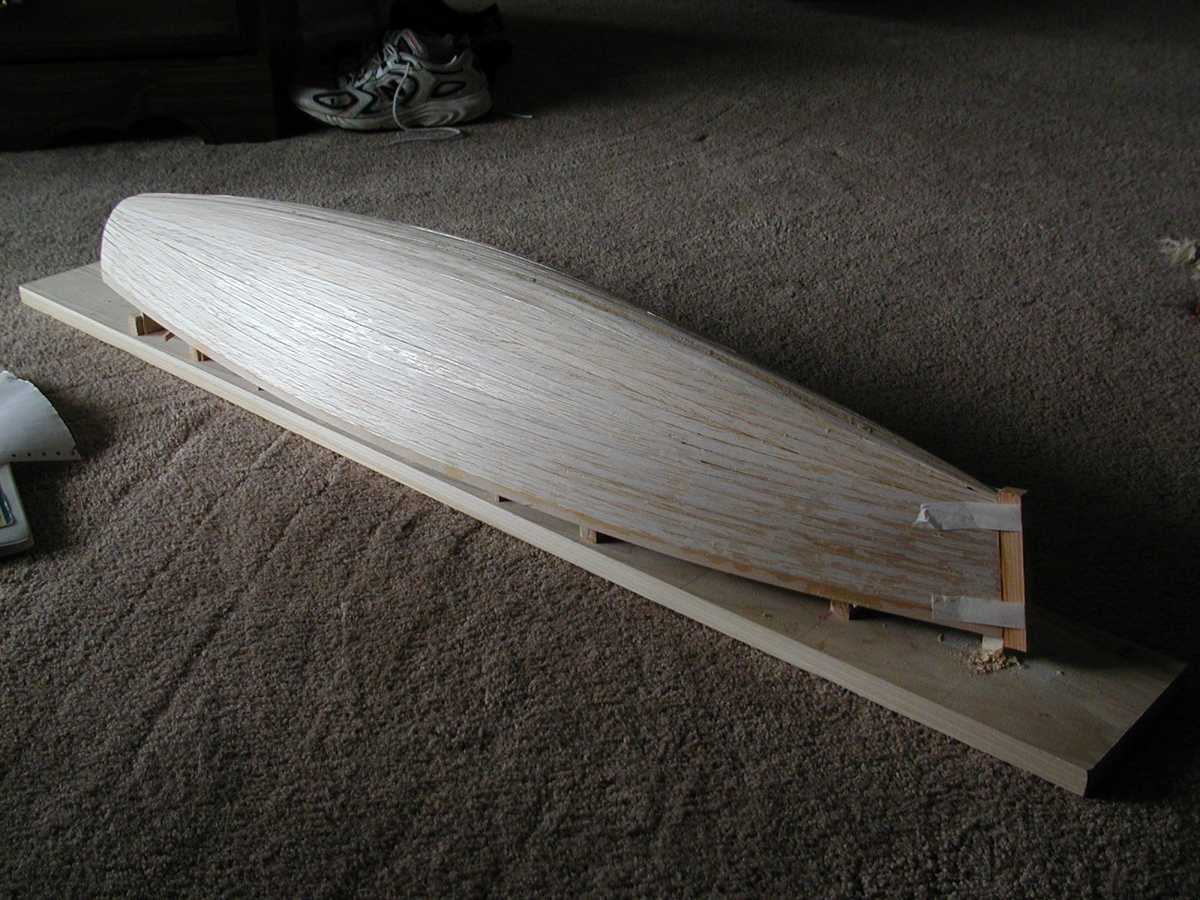

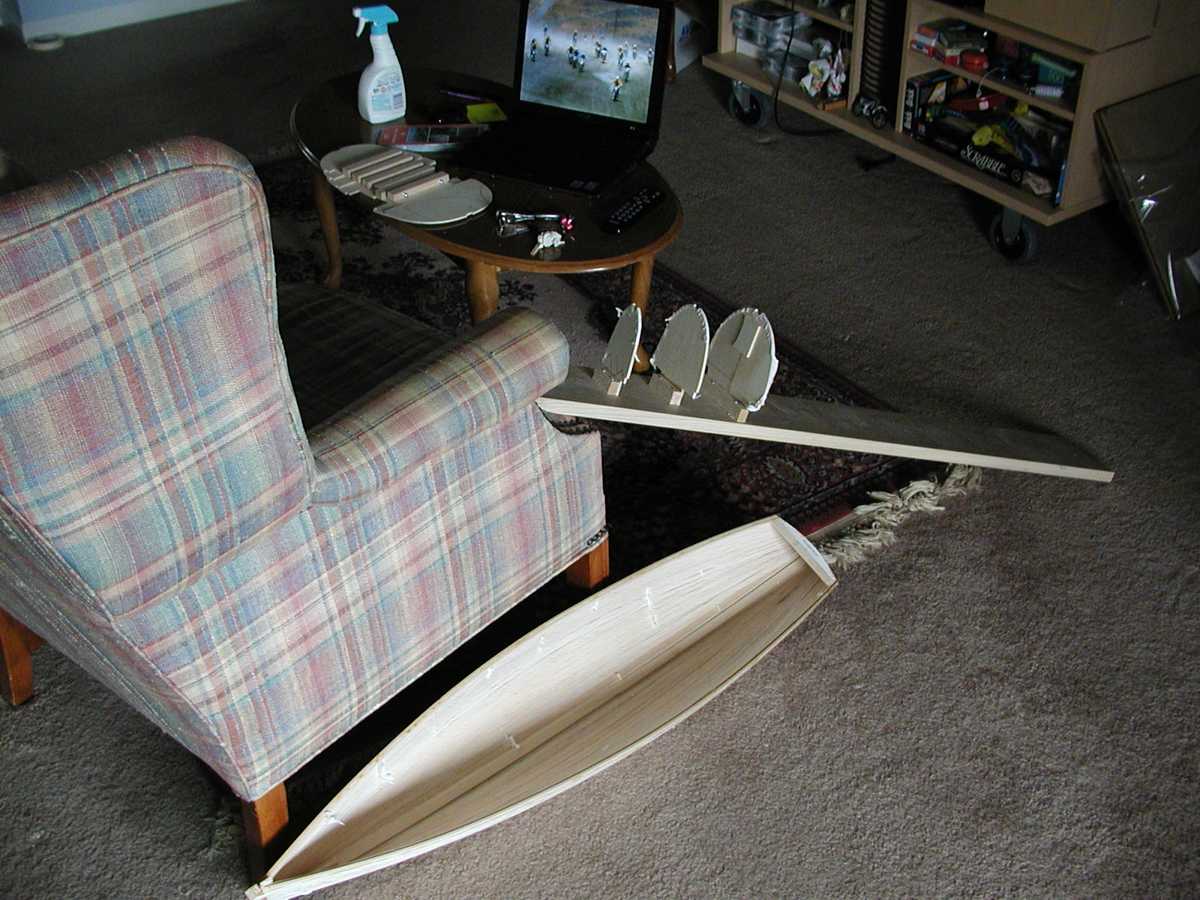
With the hull free to move around and wear as a hat, I used a master airscrew planer and a sanding block to start evening up the planks. I sanded the whole thing smooth, and then added a soft wood filler designed for balsa to the entire hull. That sanded down nicely too, yielding a nice smooth hull. The motorcycle is my other project, giving a nice balance of things to do while things cure and dry.


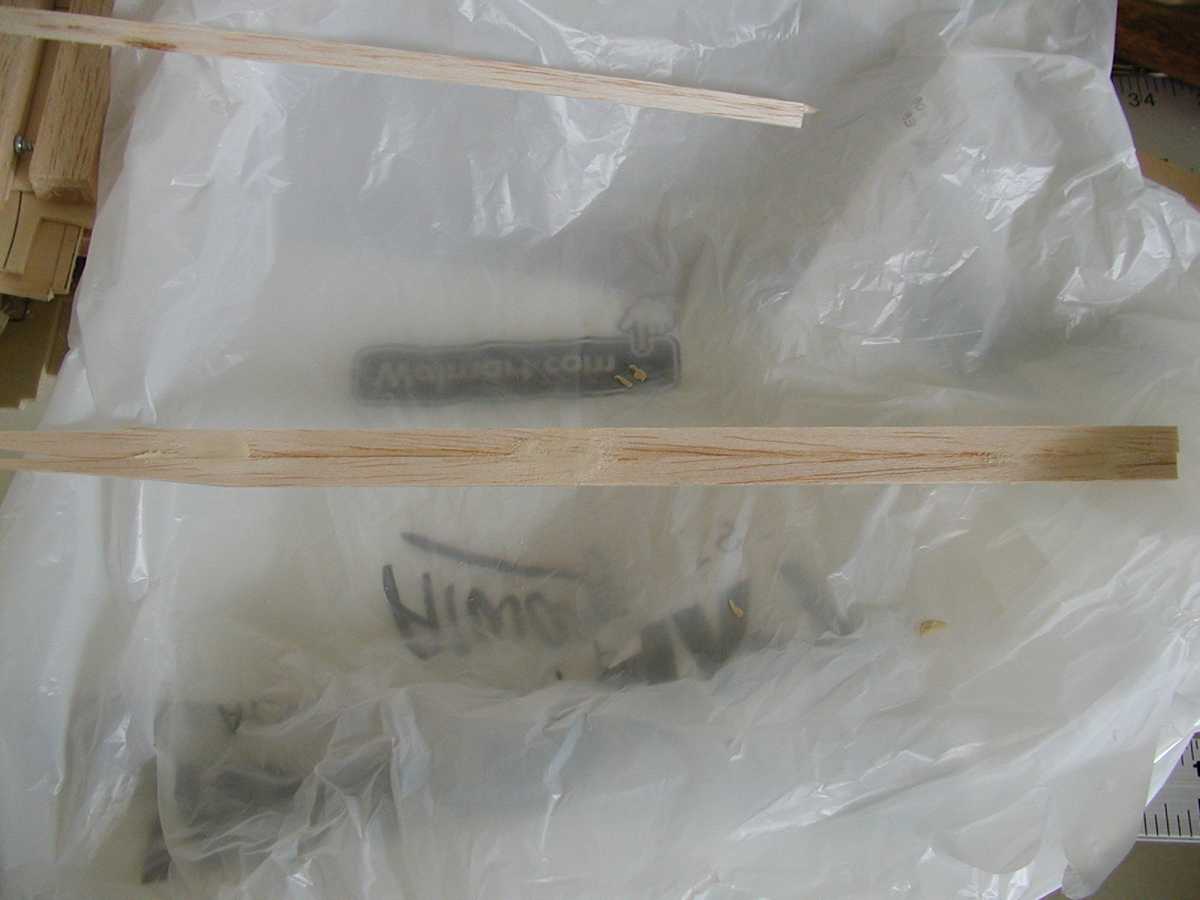
I wanted to try staining the hull, rather than having a finished balsa color. I used a minwax mahogany gel stain, and a soft wood conditioner that they also sell. In the test strip below, the left is just stain, the middle is just conditioner, and the right is both. The next picture after the strip is the left side, then the right side of the strip. The conditioner helped even out the glue spots and the filler so that the entire hull took on a more even tone.

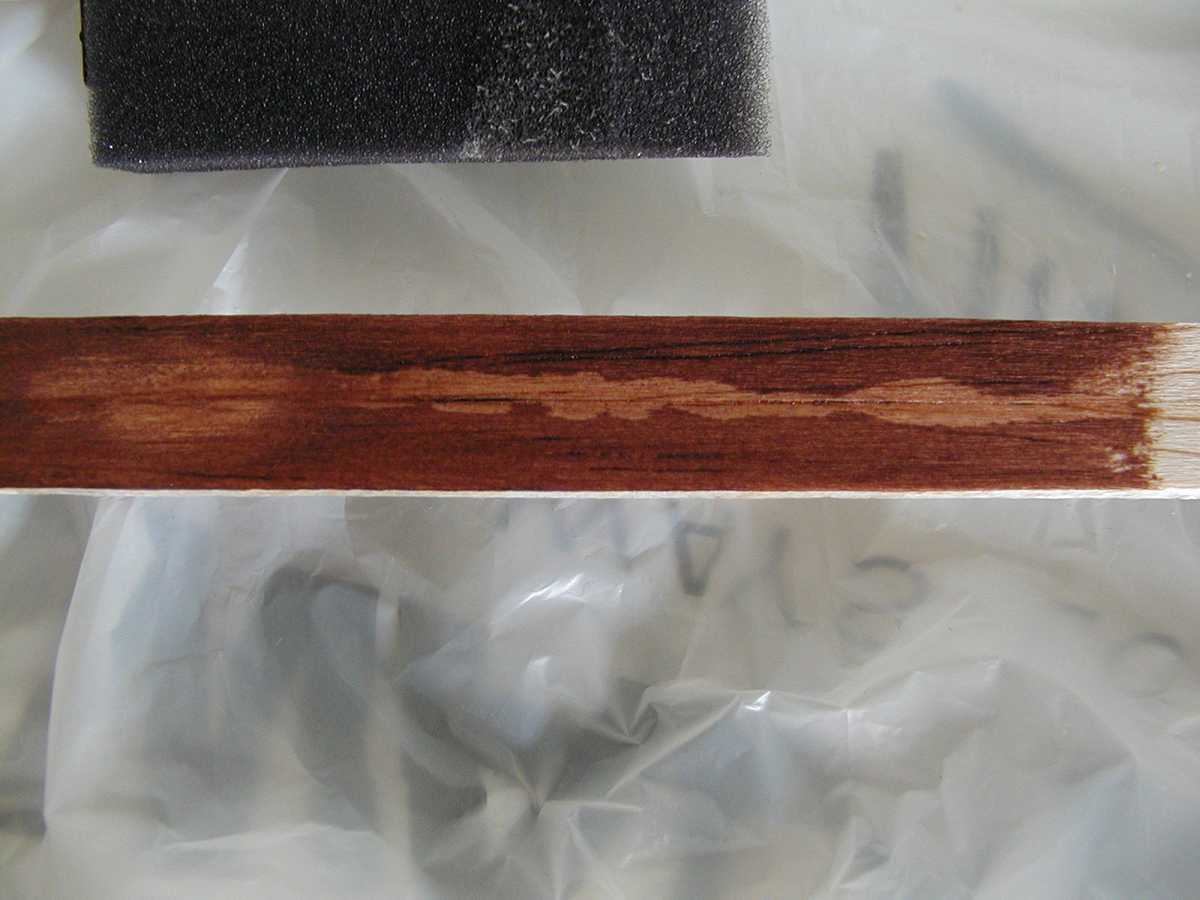


The staining didn't quite turn out exactly how I would have expected, but I think it will still look nice after the next few layers. It should show through the fiberglass and clear coats well.


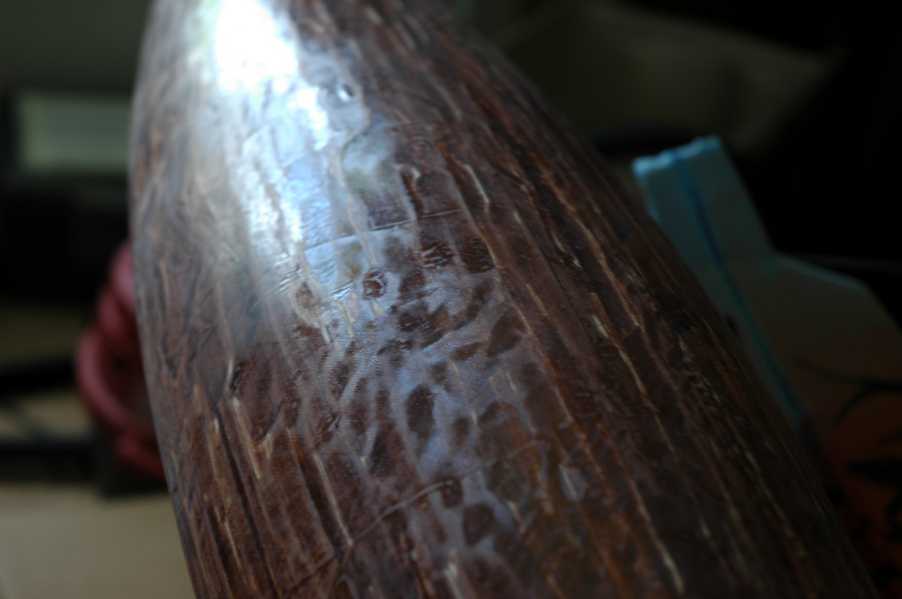
As you can see, there are lots of low spots to fill with more coating and sanding.
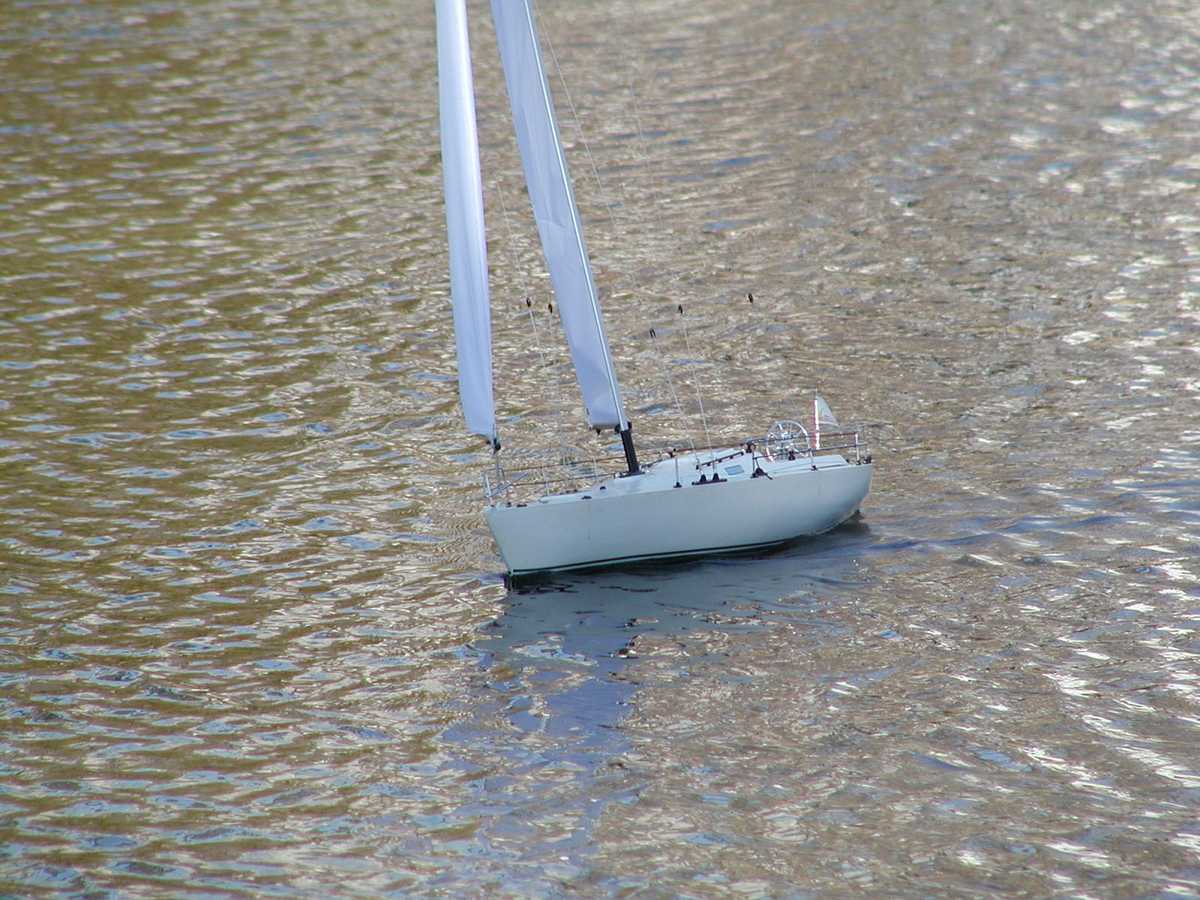
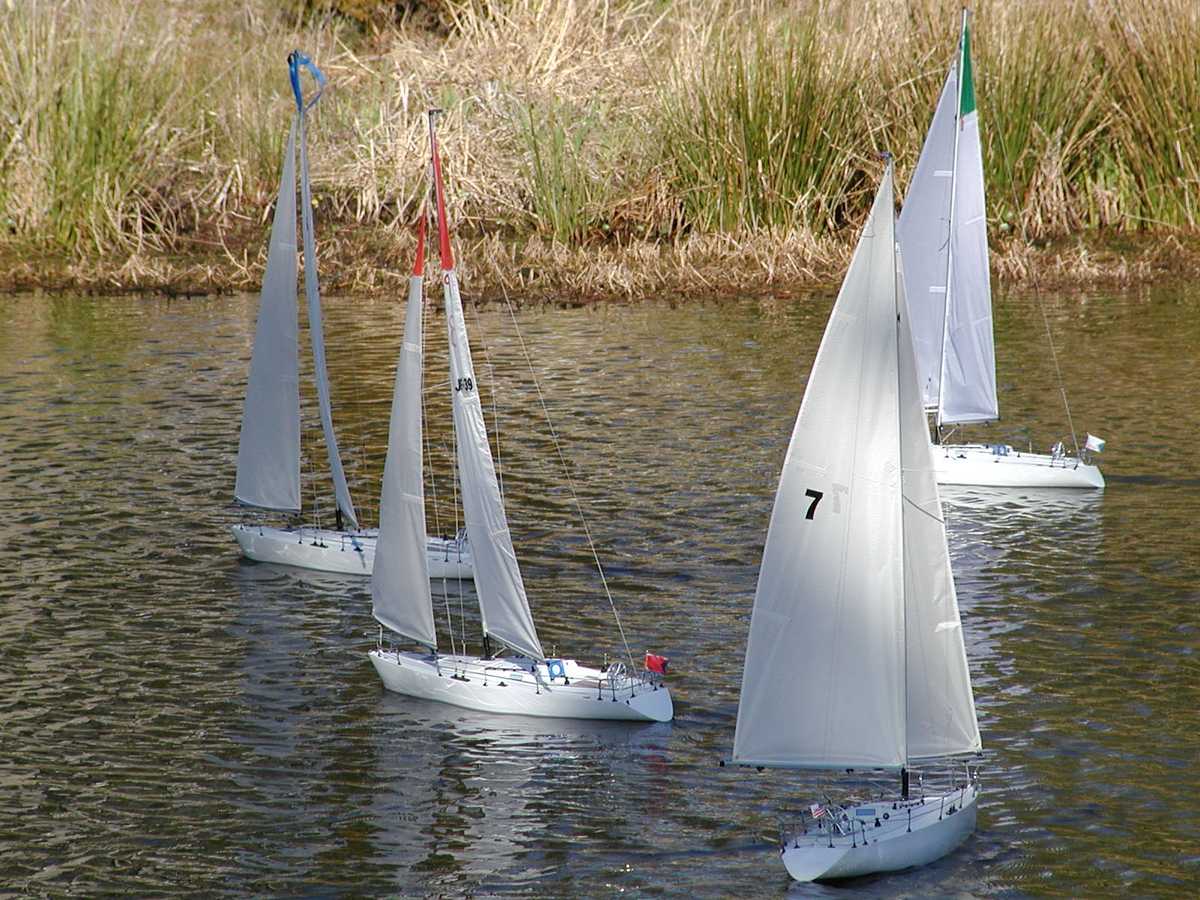
While I was in Houston for some job training, I came across the Clearpoint Model Yacht Club's web page. They were having a fun sail day, so I went out to watch. The weather wasn't so good, but Barry and one other sailor were out to make the most of it. Here are some pictures of his victoria. I'm not sure what the other boat was called, but the bow said "Sunrise 24." If that means the hull was 24" long, it was the same length as my mini America3. Barry also had an IOM that he didn't sail, but it was quite useful to see some of the rigging and arrangements up close.


Materials so far:
4 1/8" x 4" x 48" Balsa Sheets (Planking)
1 1/8" x 12" x 48" Sheet of Lite Ply (Shadows and other plywood incidental parts)
5 1/8" x 1/4" x 48" Strips of Basswood (Keel and gunwales)
1 1/8" x 1/2" x 48" Strip of Basswood (Inner keel)
1 1/2" x 3/4" x 6" Strip of Spruce (nose piece)
Minwax Gel Stain
Minwax Soft Wood Conditioner
More to come later
| Home | Contact Me | Copyright © 2014 Jared Yates - All Rights Reserved |
|
Privacy Policy | |
| This page last modified 06/10/24 | |||||