I haven't updated this page in a long time, but I still love the IFO concept and have been flying mine for 17 years now! I still have the original, and have since built a few other iterations, including one on floats.
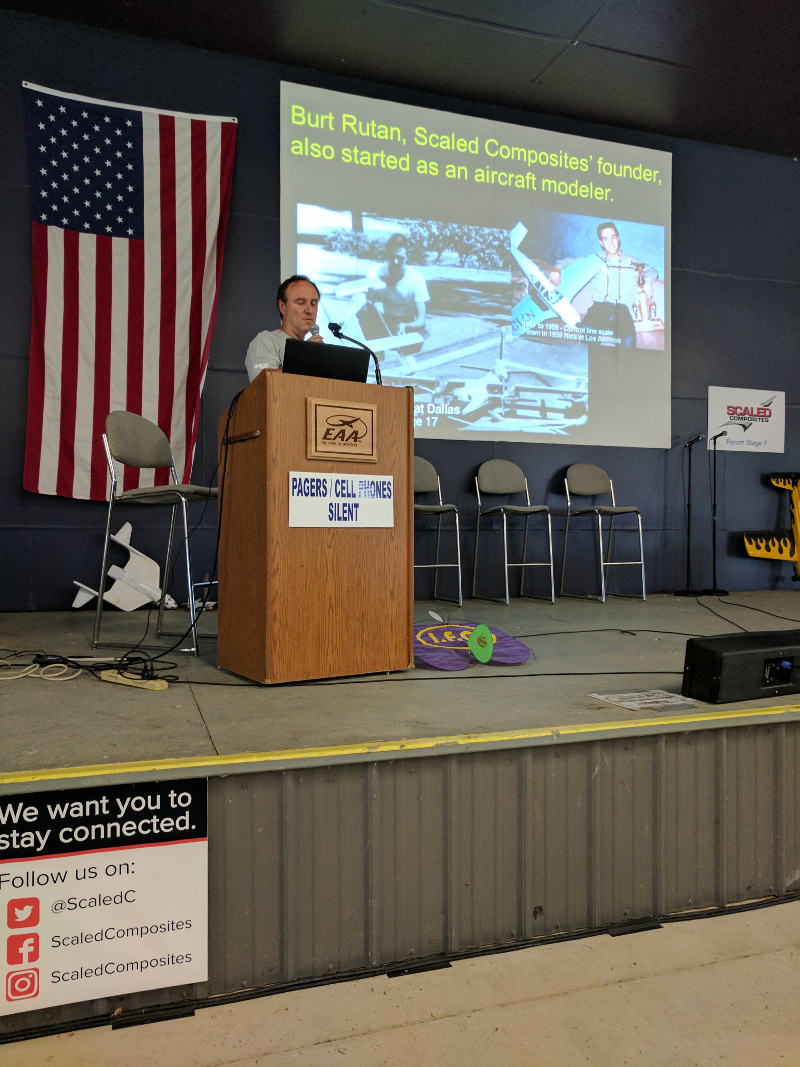
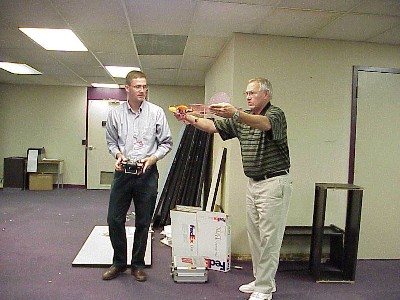
I was at EAA Airventure in Oshkosh Wisconsin and happened to be browsing through the list of presenters, and saw Dan Kreigh. Being that he was speaking on behalf of Scaled Composites, I knew this wsa the same guy, so I went to his talk about how he's used model airplanes to the advantage of his company. It was pretty cool to get to meet him briefly, shake his hand, and say thanks for sharing a great design. Here's a photo:
Back to the old stuff:
After flying models for 10 years, my all-time favorite is my mini IFO. If you want to buy one, visit flyifo.com.
 Latest configuration changes (My 8th rebuild):
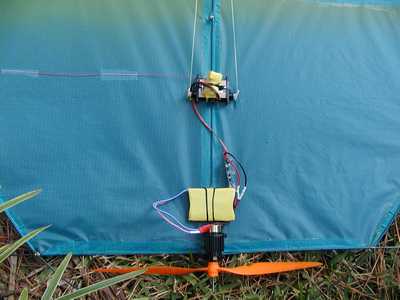
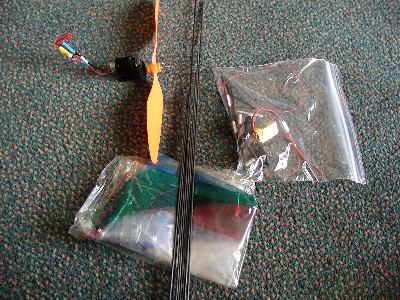
Motor: Feigao 1208436 Brushless, GWS IPS B gearbox, with heatsink
ESC: Castle Creations Phoenix 10
Battery: Etec 2S1P 700
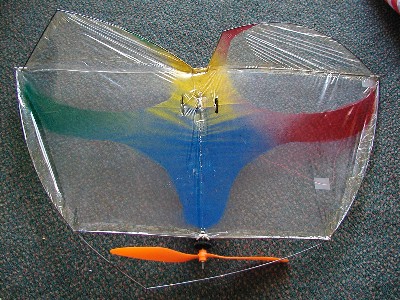
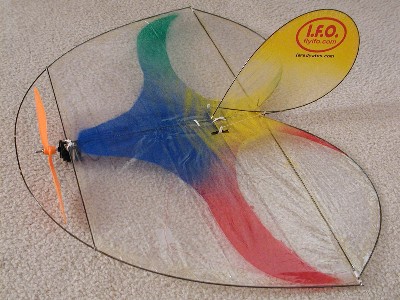
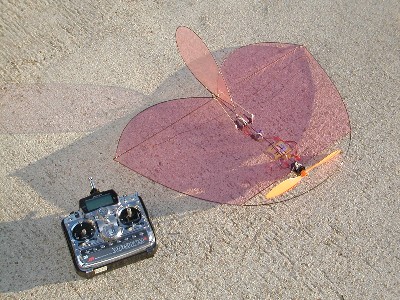
Covering: 3/4 oz Nylon Ripstop from https://kitebuilder.com
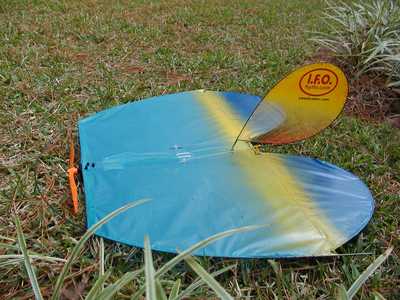
This setup has been very nice, though perhaps the ugliest. The kite store had lots of color varieties, which was probably a bad thing. There I go being "inventive" again, and let's just say the shade of blue sounded better than it looks. I tried to help it out with a little bit of paint, but that only made things worse. But wouldn't you know it, the ugliest one seems to fly too well to re-cover. The new brushless motor has fantastic power.
 I haven't weighed the new setup yet. but it definitely has more thrust than weight. The slow speed flight characteristics are also quite good, which means that the weight gains must not have been too significant. It will still hang on the prop and float around at walking speed and angles of attack close to 75 degrees or so, but now, when you put in lots of power, it just takes off in exactly the direction that it was pointed. I can run up the power with the plane in a vertical position and hold it down with my open palm on the prop guard, just as in the advertising pictures on the manufacturer web site.
In my old configuration with the brushed motor, I would typically launch by giving the IFO a bit of a gentle frisbee kind of toss, but now, it will launch in any direction that is pointed skywardish. On this one I took off the thread braces and beefed up the perimiter rod to the stock .080, which is how I found out that the "aeropretzel" syndrome is actually as much a factor as my oversized control surfaces. If there is one thing that I've learned about this simple, winning airframe design, it's that most of my changes have not been for the better. I think on the next version I'm going to go back to the stock wing and control surface shapes, and I'm definitely going to use a different color of covering material!
Old Configuration as pictured below:
Motor: GWS IPS-A with heatsink
ESC: GWS 5 amp
Receiver: GWS R4N
Servos: GWS Pico
Battery: Etec 2S1P 700 or 2S1P 250
Covering: Disposable Poncho with Testor's spray paint (not to be confused with a regular poncho, a mexican poncho or a sears poncho)
Prop: GWS 10x4.7
 I finally found a way to destroy my seemingly indestructable Mini IFO. The recipe for disaster was to leave it in the car during a hot summer day. For a plane that can bounce off of lightpoles, walls, ceilings, the ground, and keep flying, it seems a bit ironic that the idle heat would bring its demise. I reduced it back to kit form, and assessed the damages, and the prognosis was a few new rods from aerospace composites.
 Since I'm so "inventive," I figured I'd try a few new ideas. For one, I reduced the diameter of the main rod, which was a bad idea. When I got it going in a high speed roll, the airframe would flex into a scary wave-looking creature and I would lose roll control. My fix was to use a thread reinforcement as the plans originally called for, since I had actually been flying without them. I've sense discovered that this "aeropretzel" pheonomenon is as much related to my equally "inventive" oversized control surfaces. Another idea was to use a continuous rod around the perimeter, which worked out fine. I think the only reason Dan doesn't use that in the original kit is to keep the box size shorter.
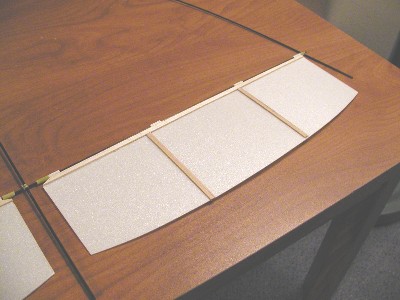
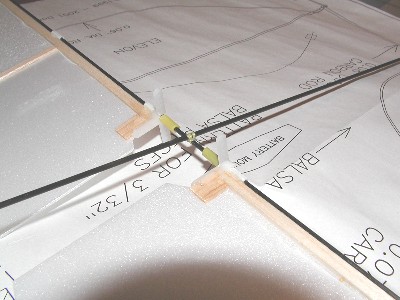
My next brilliant idea was to try foam control surfaces. I scavenged some depron-type foam from a few disposable plates, and reinforced them with a little bit of balsa. The grand development here was to use an extra GWS servo arm as the control horn. This way, I have an exact 1:1 setup with my pull-pull controls, and with a little bit of fixing, the splines catch the nyrods very nicely. I used nyrods again for hinges, and the end result was a very free surface. Unfortunately though, there was too much flex, and the flight performance suffered. One good development was to extend the main rod and the motor stick aft of the trailing edge as to provide a bit of protection for the control surfaces while hovering. I went back to carbon rods, but I enlarged them a bit. I still used a thread across the span to pull the ends together and relieve strain at the hinge points, and they are very free-moving. However, I haven't noticed all that much of a gain by enlarging them. The stock size seems to make for just as much manuverability, without the aeropretzel as discussed above.
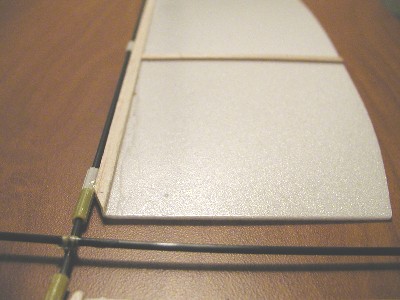
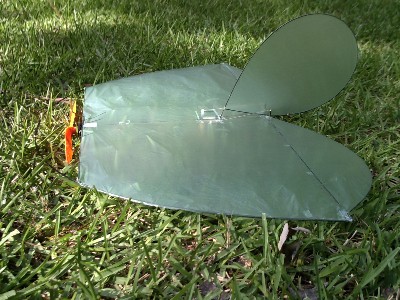
Poncho covering technique
 My use of a poncho comes from a lack of readily available reynolds wrap. If I went to the grocery store, they had colors, but none were on the wider roll required for a seamless covering. I didn't want to order 5000 yards of it, or rather I didn't want to spend that much, so the $0.84 for the poncho sounded like it was worth a try. I used an adhesive called pliobond to attach it, mostly because that was what I found in the shop. Other than a horrible smell, it worked well. Here you can see a better view of the overlap that I used. I also used strip overlaps over the rear and center sticks as to promote better adhesion.
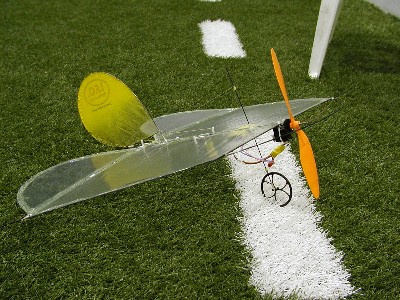
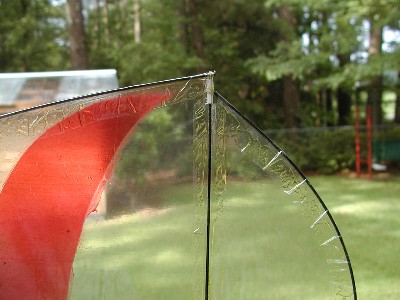
As for the colors, I wanted to have something with better visual orientation than clear covering, and something with a certain degree of individuality. I used a heavier weight drop cloth to cut out the shape that I wanted, just like a giant stencil. I had cans of transparent green and red, along with opaque blue and yellow paint, so there is the end result.
History
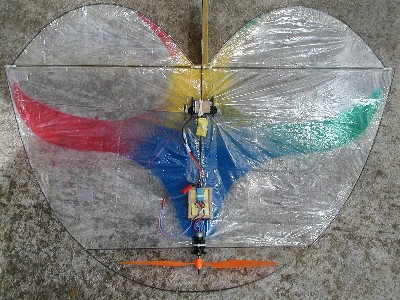
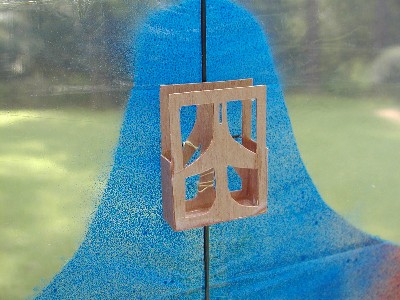
This one weighed 4.4 ounces ready to fly. You can see the layout from the picture; the yellow just in front of the servos is the receiver. In this version, I hardwired the servos and half-length antenna to the receiver, to reduce weight and simplify things. I've always had the other wires as short and connector-free as practical, for the same reason. I made a handy battery box out of 1/64" plywood, and included a fancy airplane shaped lightening hole. (This lasted about two crashes, and wasn't such a great design after all). Finally, I replaced the hinge tubes with nyrods that fit the carbon almost precicely. I used a spanwise thread to relieve the pressure at those hinge points, and thus freed up the controls considerably. I have much better response with them now, and have even had to put in a bit more exponential via the transmitter.
Here's the battery box that didn't work so well:
I ordered mine in 2002, with grand hopes. The package I selected included mostly GWS equipment, with an IPS A-drive motor, two pico servos, the four channel receiver, and the speed control sold for the IPS. Back then, lithium polymer batteries weren't an option, so I started with the 10 cell 50mAh nicads.
When I built mine, I left off the landing gear, and thus some of the bracing. While this does lead to some complications while landing, I'm convinced so far that it is worth the weight savings. Flying weight with the nicads was 4.0 ounces.
With this setup, the mini could fly with great power for aerobatics, for about 30 seconds. You can imagine, this rendered it as more of a novelty and less of a fun toy. In the process of trying to lighten it up, I managed to melt one of the rods on a control surface with the soldering iron, so I replaced it. When I ordered replacement stock, I guessed at the size and ended up with about half of the rod diameter that I needed, and thus had some flimsy control surfaces. This made my 30 second plane much less responsive. At that point I also tried ripstop covering, and found trouble in getting it to stick to the airframe. It would hold fine until I ran into the wall, at which point the frame would flex, and the covering would hold it's shape. This led to immediate covering detachment, which was quite a hassle. With all of these woes combined, it landed in the closet to stay for a few months.
In late 2003, I was researching indoor rc technology and started to learn about the lithium polymer offerings. I ordered one to try on the mini, along with new rods for the back. I recovered the airframe with saran wrap, and flew with the new battery. My run time was about 4 minutes, which wasn't quite what I had expected. I suspected a foul motor, and ordered a replacement. I figured I might as well order a spare gearbox too, which was a good idea. Upon closer examination, I learned that I had damaged the gearbox by overtightening the prop; this placed so much drag on the powertrain that it was killling the endurance and power output.
A new gearbox has led to 30-40 minute flights, and much more fun.
Here are a few old pictures.
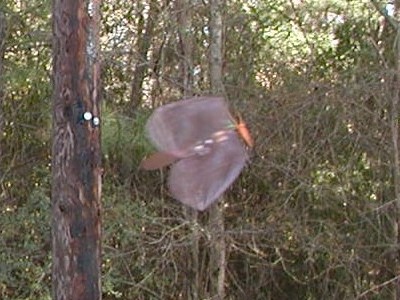

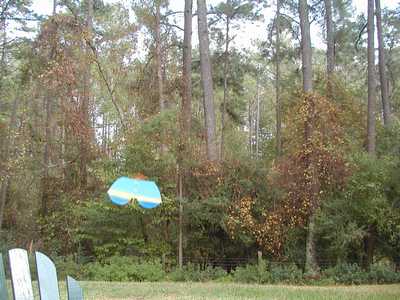
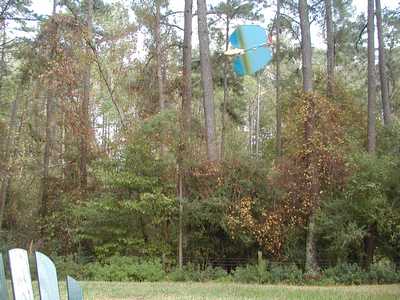
One of the first flights, on a lunch break in an abandoned section of the office